I’ve mean meaning to share this cupboard with you for ages, but I somehow managed to lose the before picture, so you’ll have to use your imaginations!
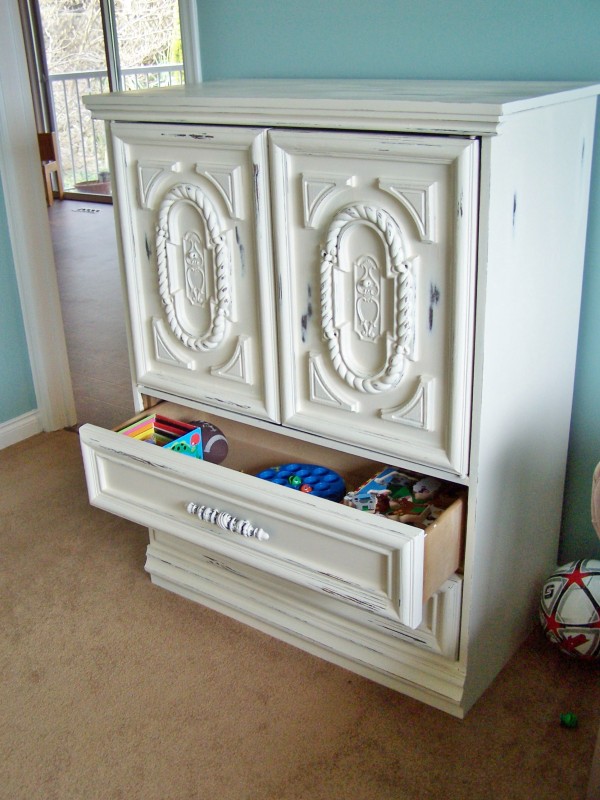
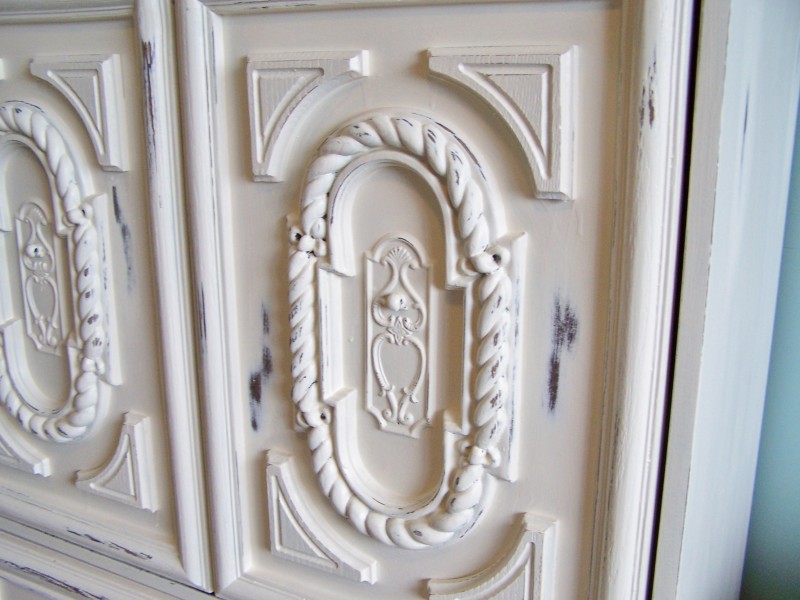
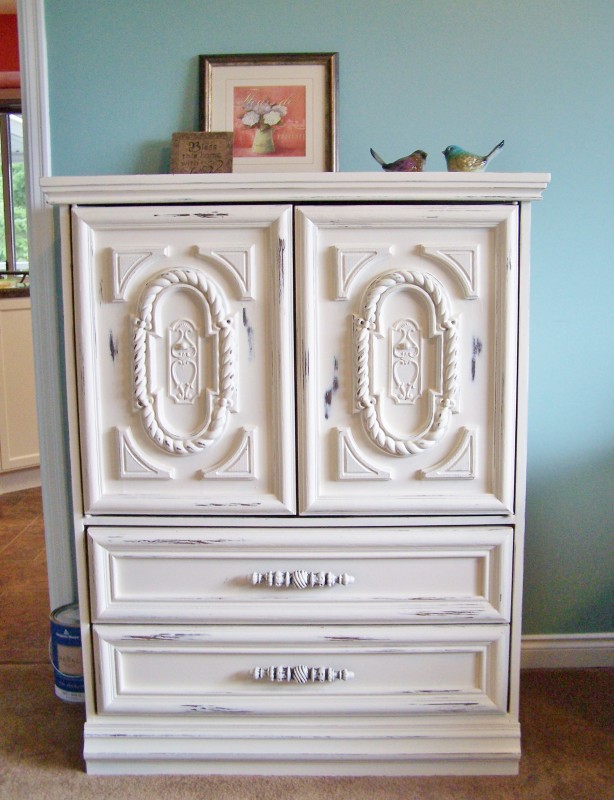
When my in-laws moved into the basement, it required some significant downsizing, and one piece of furniture they were going to get rid of was their large highboy dresser. Solid wood, this thing weighs a ton, but they kindly brought it up the stairs for me, with me having visions of organized mess hiding nicely behind closed doors. I love the detailing on the doors of this cupboard, and the fact that it is the perfect height for the kids to reach everything in it.
If you can picture it, this was a very dark, old wood finish with a shiny coating and little brass tassels for door pulls. It never ceases to amaze me what a coat of primer and a couple coats of paint can do, and this has become one of my favourite pieces of furniture in the whole house. It suits the style I’m going for perfectly, and it has been invaluable in organizing toys and perpetuating the appearance of neatness in the evening.
Steps to get here:
1) Light sanding with 100 grit sandpaper
2) 1 coat oil base primer (I use Zinsser Cover Stain)
3) Thorough sanding with 150 grit sandpaper
4) Coat of paint (I use Benjamin Moore Advance in a pearl/satin finish)
5) Let dry 16 hours, then sand lightly with 150 grit sandpaper.
6) 2nd coat of paint
7) Let dry 16 hours, then sand lightly with 150 grit sandpaper
8) 3rd coat of paint just for good measure (the product I use has a tendency to sag so it is better to do more thin coats rather than few thick coats for a high quality, smooth finish.)
9) Let dry 16 hours, then distress: sand heavily with 60-80 grit sandpaper, through all layers of paint and primer, back to original wood. I tend to focus on places that would wear naturally (edges, corners, etc.), then do light touches on flat surfaces (door and drawer face, sides), and a fairly heavy sand on top to complete the distressed look.
10) If desired, clear coat entire piece with a matte or low lustre varnish for uniform low sheen. The paint is strong enough without this step, but has a slight sheen, so if you want a matte, old-furniture look you might prefer the matte finish. This step will also even out any sheen differences created by the distressing.
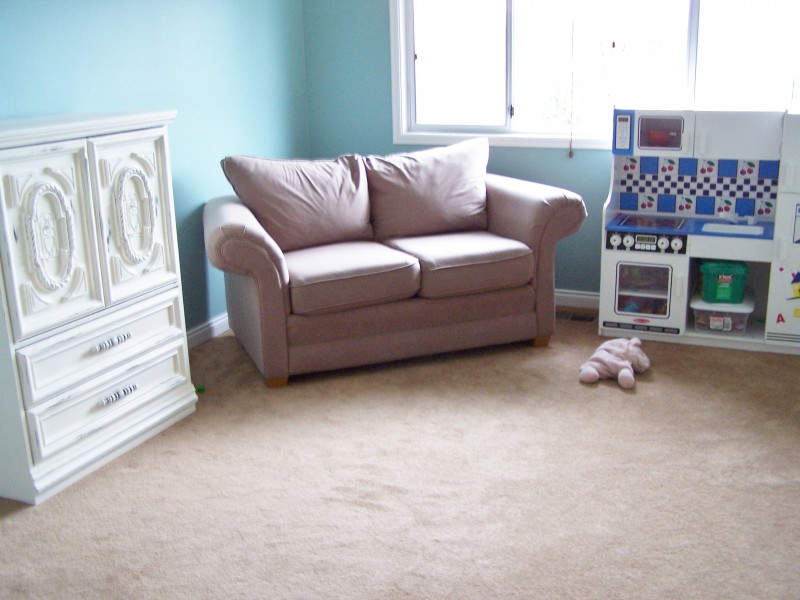
For the drawer handles, I just skimmed my roller over the brass and left it at that, with some of the brass showing through. Here’s a shot of the whole playroom, where the cupboard is right at home:







It’s gorgeous!
Ohhhh…..see? You are SO capable, of attacking that TV unit! Come on now! This piece if beautiful!
Thanks! I cheated and didn’t do the inside of this one though…can’t get away with that on the TV unit since we have the doors open most of the time!
Anna this is fantastic. I love redoing furniture. Now that hubs is back working I am chomping at the bit to start some projects. This was a great redo. Looks wonderful and very useful.
Looks beautiful! You could refinish furniture for a business!
LOOKS great!! I remember clearly what it used to look like… you did a GREAT job!!!
Thanks Sharon! It was cute – when it was done your dad came up and said “oh wow, it already looks a lot different with just the one coat of paint on it”…I had to explain that it was supposed to look like this :)
love it Anna!
Curious what BM colour is on your wall?
The walls are Covington Blue – I LOVE it.
Your distressed cupboard\dresser looks great! Is the kithcen in the last pic a DIY piece? If so what piece of furniture did it start out as?
No, the kitchen was a freebie that a school was getting rid of – it’s the old Melissa and Doug set. I’ve seen a few DIY kitchens though made from old TV units!
Looks great!! I really like the paint color, do you mind sharing the name of it with me?
Unfortunately it’s not an exact colour – I used Mascarpone for some trim and book shelves I wasn’t distressing, then got the rest retinted creamier for my other projects…it’s now VERY close to Benjamin Moore’s Gentle Cream (oc-96).
opps I meant the wall color but see you already answered that :)
Good job on that! It looks great.
love it anna. Such a beautiful piece to have in your house!!
Thanks Heidi! I love refinishing pieces like this that didn’t cost me anything so I don’t have to worry about ruining them :)