The past week has flown by in a blur of infant Tylenol, sleepless nights, and yesterday, finally, antibiotics. Just when Theo had successfully fought off a nasty case of hand, foot and mouth picked up somewhere in Ottawa, and was back to his usual energetic, crazy little self, he woke up in the middle of the night with a fever he couldn’t shake that was making him very unhappy and which, consequently, made me pretty unhappy too.
The joy of being in a small town? No walk-in clinics, only an emergency room, so, with the fever still not budging by dinner the next day, and a little boy getting sicker and sleepier, off we went. Thankfully, after a short wait, a fantastic doctor saw us, a father of 3 little ones himself, and diagnosed the beginnings of an ear infection and directed me to dose with Tylenol, Advil, AND the prescribed antibiotics before getting on an airplane early next week. Just the idea of that much medication in such a little body would never have seemed like a good idea to me, but, having had ear pain in flight before, I know it’s worth every bit of help to make sure that doesn’t happen to a baby.
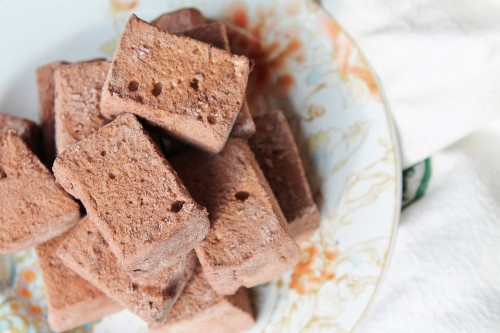 When it’s still cold and snowy, your baby is sick, you have lots of packing you should be doing, and your husband is gone from sight for a month, obviously the best thing you can do is make homemade marshmallows, because they take very little time and they cheer everybody up (except the sick baby, he’s not allowed to have marshmallows yet).
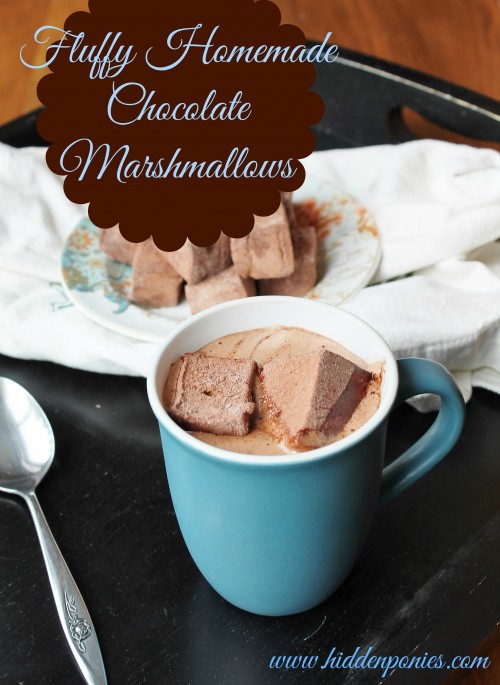
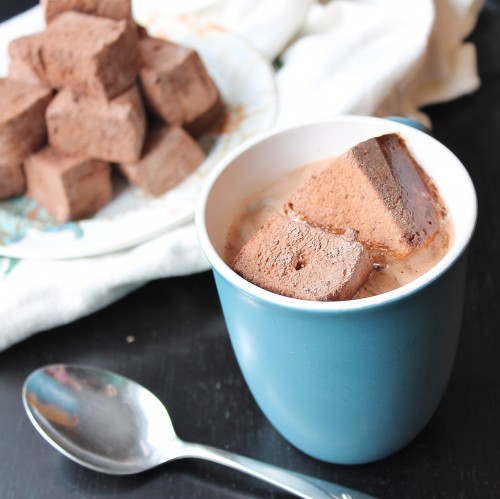
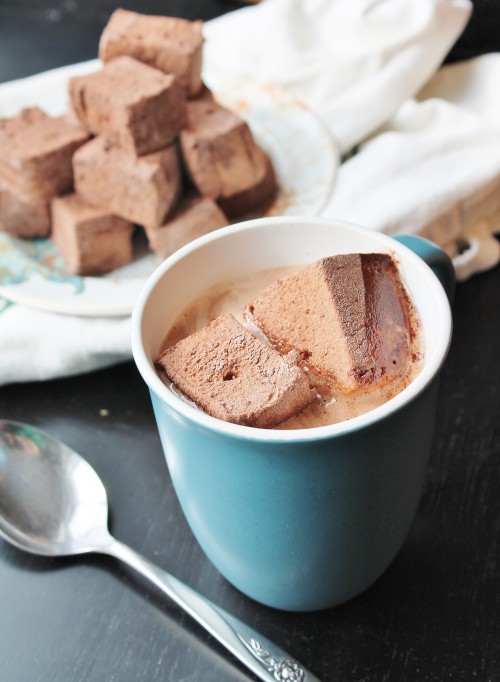
 I’ve made homemade marshmallows before, but it never ceases to amaze me how much better they are than the store bought variety, and nothing beats the way these beauties melt into hot chocolate. You can listen to the air bubbles pop as the marshmallows settle into the hot liquid, and they form a gorgeous soft foam on top of the drink. These ones also give the chocolate a perfect subtle mint flavour. Chocolate mint hot chocolate is one of my favourite indulgences, and these are the perfect imitation.
They’re delicious to snack on all on their own, and they store beautifully at room temperature, making them perfect to package up for surprise gifts, or to say thank you to the wonderful piano teacher who kindly took on Gemma for our 3 month stay here. Gluten free, egg free, and dairy free, these are great for everyone except the sugar free, because basically, they are made of sugar :)If you’ve never had a perfect, pillowy, airy, homemade marshmallow, and you own a stand mixer, you need to make these…or keep them in mind for next winter’s hot chocolate if spring has already arrived where you are :) Or omit the mint for a straight-up chocolate marshmallow and sandwich one between a couple graham crackers with a chunk of chocolate for an over-the-top-good s’more!
*Note before starting: while these only take about half an hour to make, about 15 minutes of which is hands-on time, they do need to set for several hours before being cut, so take that into account when planning.
- 1 cup water, divided
- 3 packages plain/unflavoured gelatin
- 2 cups sugar
- ½ cup corn syrup
- ¼ tsp salt
- ¼ cup cocoa powder
- ½ tsp peppermint extract
- 2 tsp vanilla extract
- Approximately ¾ cup EACH icing sugar (aka confectioner's sugar) and cocoa powder for coating marshmallows
- In stand mixer fitted with whisk attachment, pour in ½ cup water and sprinkle gelatin all on top to soften. Set aside.
- Meanwhile, in a medium saucepan over medium-high heat, combine the remaining ½ cup water, sugar, corn syrup, and salt. Bring to a rolling boil (a boil you cannot stop by stirring) and let boil for 1 minute. Remove from heat.
- Turn mixer on low and mix the gelatin or water once or twice to combine. Add the cocoa and, with the mixer on low, gently pour the hot sugar down the side of the bowl in a slow, steady stream.
- When the mixture is combined, turn the mixer to HIGH and whip for 10-12 minutes, until the mixture almost triples in size, gets much paler, and becomes very thick. Scrape down the sides of the bowl with a spatula if necessary to prevent overflowing. While that's mixing, prepare your pan: thoroughly butter a 9x9" baking pan or spray with non-stick spray.
- Stop the mixer, add the vanilla and mint extract, and mix for about another minute to combine.
- Scrape the mixture into the prepared pan with a spatula, working quickly as it starts to set.
- Spray a piece of plastic wrap with cooking spray and press it gently across the top of the marshmallow to seal it tightly. Let stand at room temperature for at least 4 hours, or overnight, before continuing.
- When marshmallow is cooled and set, sprinkle a large work surface or cutting board with the icing sugar and cocoa mixture. Remove the plastic wrap and rub some of the mixture onto the top of the marshmallow. Run a knife around the edges of the marshmallow and gently invert it onto the cutting board. Invert it again so the uncoated side sits in the powder. With a large sharp knife lightly coated in icing sugar, cut the slab into approximately 1"x1" squares. Roll each individual square in the icing sugar mixture to evenly coat all sides.
- Store in an airtight container at room temperature for up to 2 weeks.
*Adapted from Rosie Daykin’s Butter’s Famous Marshmallows, from her gorgeous book Butter Baked Goods, c)2013; Appetite by Random House Publishers



[…] 2. Chocolate Mint Marshmallows, Hidden Ponies […]