About a year ago, when parks were closed, schools shut, and schedules emptied, a dear friend asked if I wanted some sourdough starter. The sourdough train was just leaving the station, not yet quite as full as it became later in the year, and I was definitely hesitant. I had heard horror stories about the care and maintenance required by a sourdough starter, and I don’t really consider myself as having any extra nurture to spread around. There’s a reason the only pet I’ll consider is a cat.
But this friend is both smart and persuasive – first she dropped off a still-warm loaf of cinnamon raisin sourdough right at lunch time, and not long after, while my resolve was weak and my days long, she dropped off some starter on my front steps and called me the next day to teach me how to make sourdough via video chat.
A year later, the starter lives on, my jeans have gone up a size, and my house smells amazing on the regular.
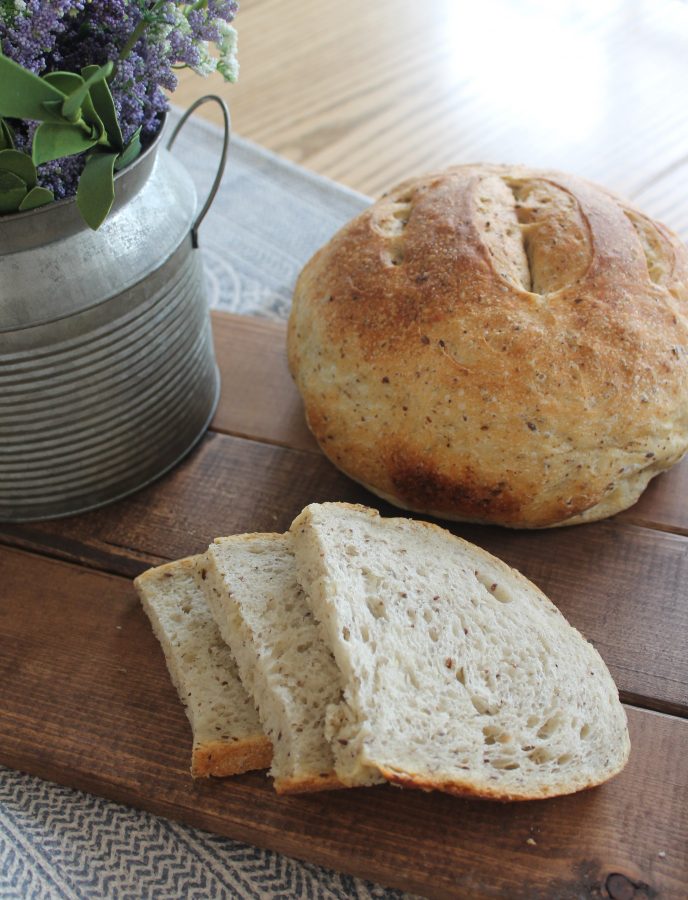
I hesitated to share this recipe because I know not everyone has (or wants to have) sourdough starter, but I make it literally almost every week, so it deserved a permanent place in the online recipe banks. Not to mention my handwritten paper is getting a little worse for wear :)
I also hesitated because I’m no sourdough expert – don’t ask me how to start a sourdough starter, or why it works so well without yeast, or why my loaves look different from time to time – it is a magical mystery and I don’t want to learn any more than I need to about bacteria, fermentation, and the like.
All I can tell you is that it works, and this recipe works particularly well, and is particularly foolproof. I’ve roped multiple people into testing it with my instructions and haven’t heard of a flop yet.
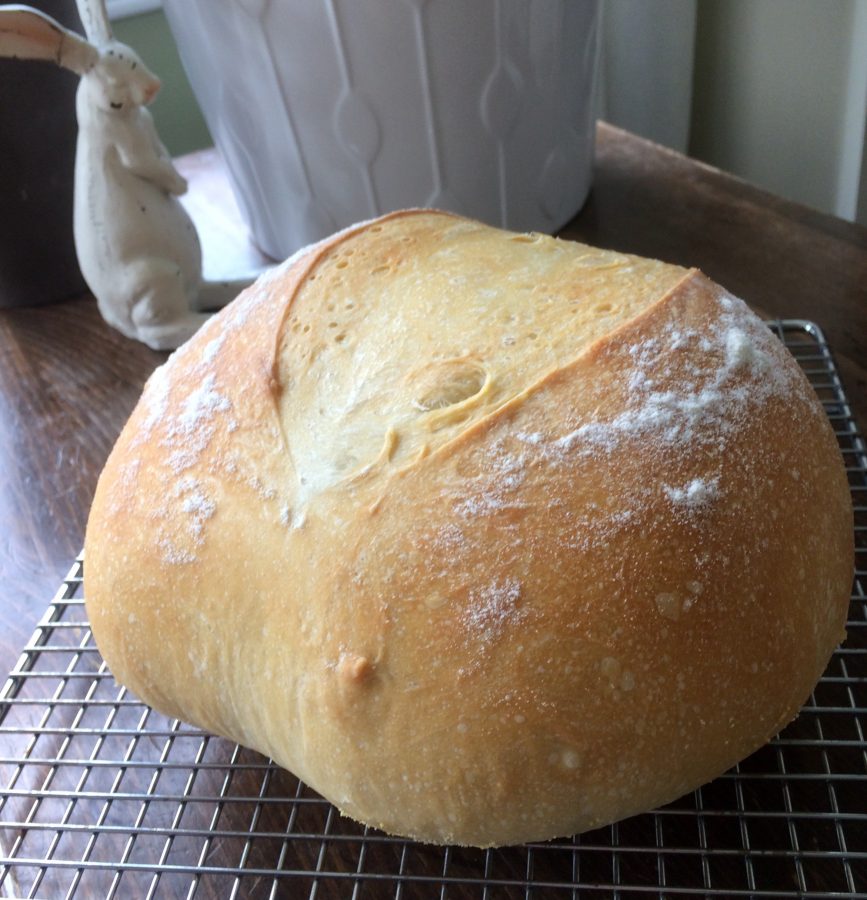
Good traditional sourdough rises in a special “proofing bowl”, has big air holes, a hard, chewy crust, a deep tangy sourness, a pretty pattern carved into the top with a special tool called a lame, and a beautiful crisp ridge if you can get it to rise just right. The dough is wet and sloppy and hard to work with and requires frequent stretches and pulls over several hours as it builds strength and aerates and who knows what else. That was the first kind of sourdough I learned how to make – it was delicious, and it took all day. I wasn’t convinced this was a realistic or worthwhile addition to my life.
BUT, now I had this living starter, and I don’t like to kill anything if I can help it, so I figured I should experiment. I made great waffles and really fluffy sourdough pull-apart buns, but bread seemed like the most realistic way to use enough starter to make feeding it worthwhile. A few recipe readings and adjustments later, this is where we landed.
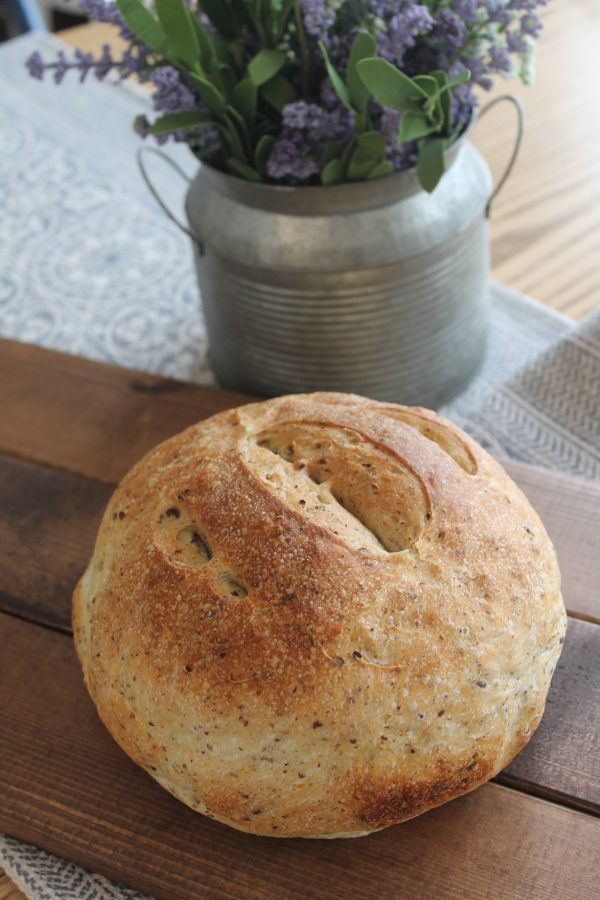
(That one happens to have 1/4 cup of flaxseed added, but that’s totally optional.)
Let me explain why this is a perfect everyday sourdough bread:
- minimal hands on time (I always mix it up after dinner – this takes 5-7 minutes plus a couple of evening check-ins – then leave it to rise overnight)
- short second rise time (just one extra hour in the morning before it bakes)
- a less crunchy/chewy crust (more kid-friendly)
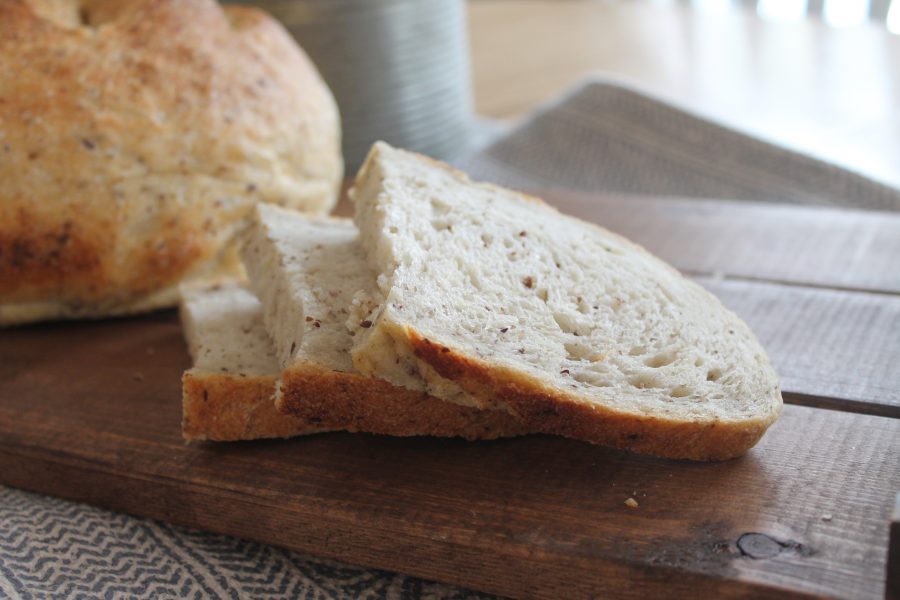
- a tighter texture (you can make grilled cheese without the cheese seeping out the holes)
- less sour taste (good for people skeptical about sourdough), and
- tons of versatility (sometimes I don’t have quite enough starter or add a bit too much water, sometimes my starter is room temperature and sometimes it’s straight out of the fridge, I double the recipe, I add cheese and herbs, or cinnamon and raisins, or ground flaxseed, or some whole wheat flour…it always works).
I had heard sourdough was notoriously difficult and to count on multiple failures. If you’ve been around for any length of time, you know I don’t believe in expending time, money, and emotional energy on multiple failures in the kitchen. If you’re with me, this is the sourdough for you.
Oh, bonus benefits – leftovers make the absolute best buttery French toast bake, and it obviously dunks perfectly in gobs of spinach dip.
The only kitchen tool you really need for this is an oven-safe pan with a tight-fitting lid. I didn’t have a Dutch oven, so I googled and found out my KitchenAid pans with glass lids are totally safe at this temperature, although some suggest it will affect the finish long-term…but it’s been a year of regular use and no issues yet.
If you have a kitchen scale, that is the best way to measure but, like I said, this recipe is pretty forgiving – the volume measurements also work just fine.
Read through the whole recipe once before you start – if you mix it up the night before, you will need a good 2 hours at home the following morning for the second rise and the one hour baking time.
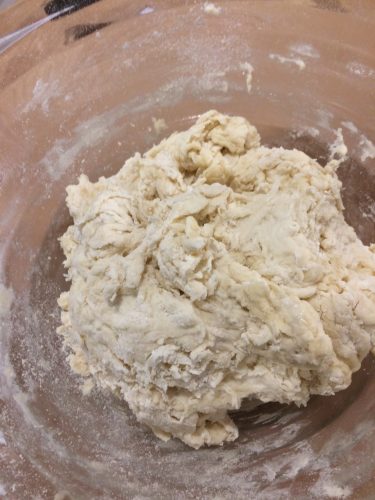
It’ll start as an ugly shaggy mess which you’ll cover and leave for 30 minutes…
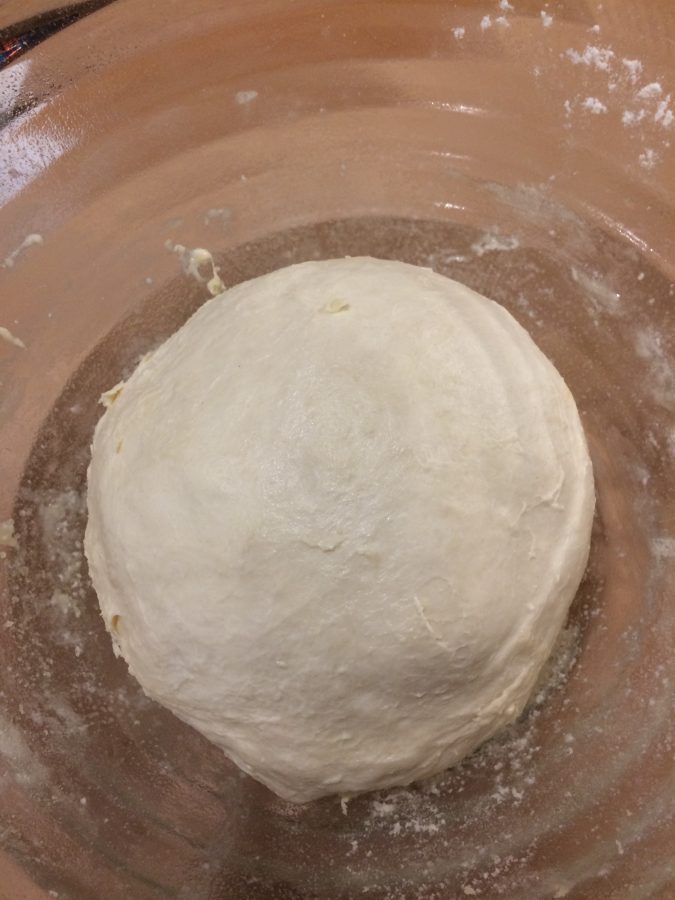
Then you’ll shape it into a pretty nice ball and place it in a greased bowl…
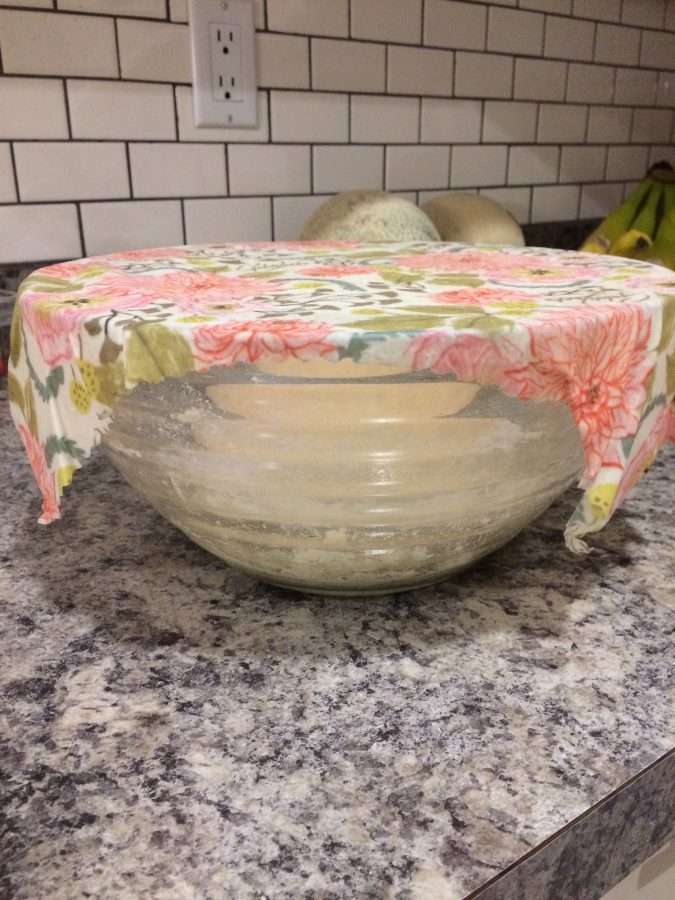
Then you’ll cover it and tuck it in for the night! (You’ll uncover it once after about an hour to give the dough a little extra stretch, but then tuck it back in.)
By the morning it will be doubled in size and ready to punch down and shape back into a nice ball for the second rise, which it does in the same pan you’re going to bake it in.
Then all that’s left to do is bake! Start with the lid on to create some good steam, then remove the lid and let it keep baking. And please, please, whatever you do, USE OVEN MITTS to move the pan lids – or the pans themselves – if they happen to be in the way anytime in the hour or two after you’ve removed them from the oven. Do not, under any circumstances, as my dear husband did, wrap your hand around that handle thinking you’ll be able to quickly move it. Ouch.
If you have an easy sourdough recipe I need to try, I’d love to hear about it! And if you live nearby, I’m more than happy to share some starter with you so you can try it too :)
- 150 g active starter (about 1 cup)
- 250 g warm water (about 1 cup plus 1 Tbsp)
- 25 g olive oil (about 1½ Tbsp)
- 500 g flour (about 4 cups)
- 10 g salt (1¾ tsp)
- With a fork, whisk together starter, water, and olive oil in a large bowl. Add flour and salt and stir it all together with the fork or squish it together with your hands. (This can also be done in 30 seconds in a mixer with the dough hook.) Cover and let rest for 30 minutes.
- After 30 minutes, work the dough into a rough ball with damp hands. Place the ball in a greased bowl, cover and let sit for one hour. After an hour, with damp hands, stretch and pull the dough all around the bowl, lifting it from the bottom and stretching it toward the middle.
- Cover the bowl tightly and let rise in a draft-free place until doubled in size (6-12 hours; overnight is great).
- Once risen, line a Dutch oven or other oven-safe pan with a tight-fitting lid with parchment paper. With damp hands, squish down the dough to remove air bubbles. Re-dampen your hands, then grab the dough and stretch and pull it into a round loaf shape (I just do this in mid-air, but you can also place the dough on a lightly floured surface and gather the edges into the center.) Place dough seam-side down in prepared pan.
- Cover and let rise in the pan for another hour. When ready to bake, preheat the oven to 450 degrees and slash the top of the dough in a line or “x” pattern to let steam escape. When oven is hot, REDUCE temperature to 400 degrees and bake bread for 20 minutes with the lid ON. Then, remove the lid and bake for an additional 40 minutes.
- Let cool on a wire rack for at least an hour before slicing.
A good whole grain or cinnamon raisin loaf makes the best baked French toast! If adding whole grain flour, you can replace up to ⅓ of the all-purpose flour.
*Mainly adapted from The Clever Carrot.
For a video showing the feeding of the starter and a recipe/tutorial on how to make a more traditional sourdough over two days, check out my friend Karen’s video!


I’m sorry . Kind of thanks for finding this recipe … I make this one as a cinnamon raisin bread almost weekly now.