Last year I recommitted to a previous failed resolution: learn to make good homemade rolls, and make them (almost) every time I need buns. The bun quest is over for me, in the nick of time before it’s time to make resolutions again! Check these beauties owwwwt.
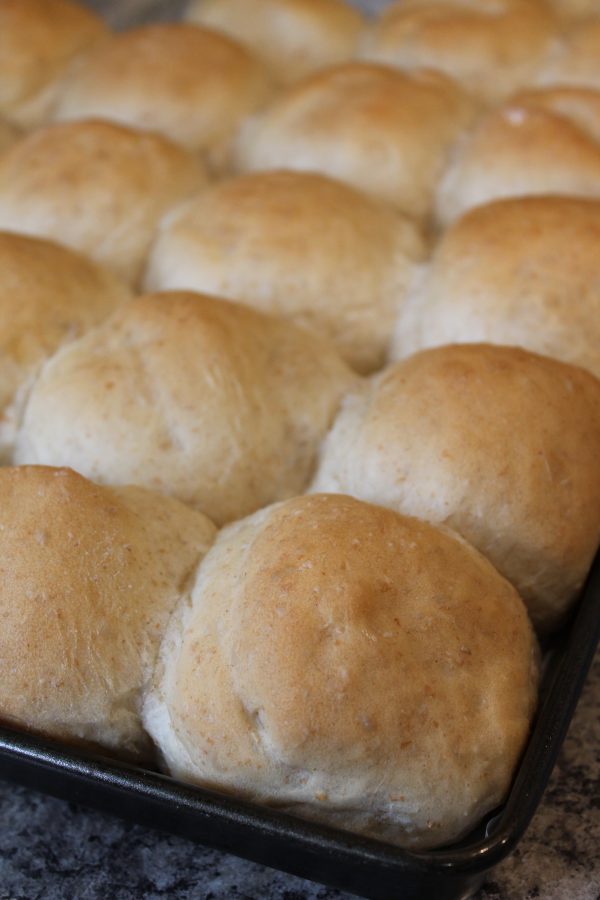
In hindsight I should’ve started in the trustworthy place that rarely fails me – church (or in this case, school) cookbooks! This bun recipe started from “Muriel’s Two Hour Buns,” in a cookbook all the way from my mom in Ontario. Muriel knew a thing or two about efficiency, and based on the sparse instructions she assumed everyone knew as much about bun making as she did. I’ve clarified some of the steps, added some salt, and experimented with whole wheat flour, so I guess these aren’t Muriel’s anymore, but I do very much appreciate her wisdom behind this.
These are the basic roll recipe I wanted. My kids take a lot of buns in their school lunches, and I like to mass produce a bunch with meat and cheese or just cheese and pop them in the freezer. Having them ready makes mornings go so much smoother. These thaw absolutely perfectly by lunch time, and since I make them and freeze them the same day, they are never getting a dry bun in their lunch. Sure, by the time I bake buns I certainly don’t feel like hauling out toppings and decorating them, but I’m getting better at appreciating how glad my future self will be if my present self just powers through and stops being a whiner.
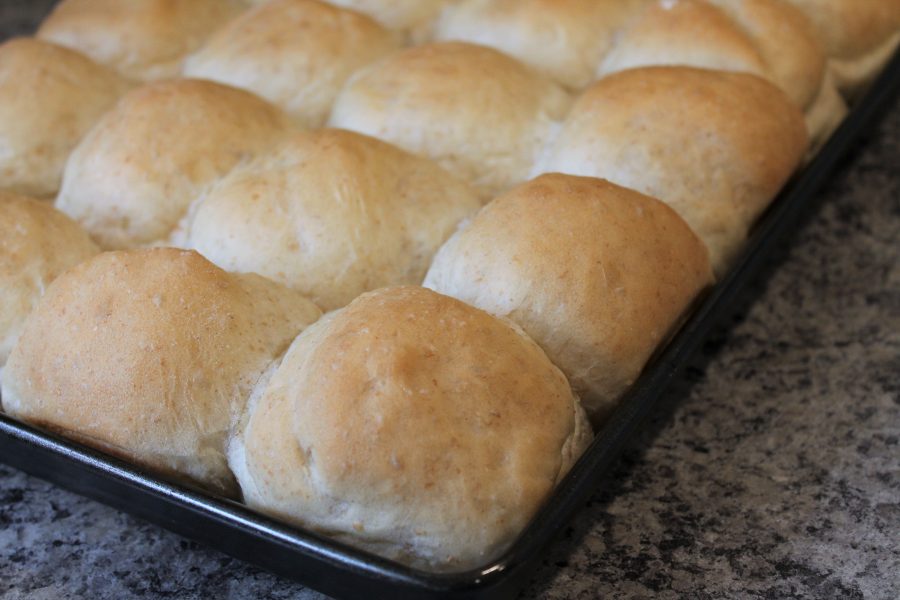
This recipe makes 40 buns, so I usually prep about 20 of them to freeze, throw a dozen plain into the freezer and leave the remainder on the counter to eat over the next couple days for lunch or as oven-toasted garlic buns with dinner. Mixed with the occasional leftover pizza, bagel, croissant, or wrap, the bread part of lunches is taken care of for at least 3 weeks.
I find this such an easy dough to work with from start to finish. The buns are pretty small, which my kids love so they can get to recess sooner, and there are no unusual ingredients or steps. They’re soft and fluffy and make your house smell impossibly good, as all homemade breads do. They’re also way, way cheaper than buying buns at the store every week…I can’t pretend my motivation is entirely based in a love of making everything from scratch ;)
I hope they are a winner for your family like they are for mine!
- 3 Tbsp instant yeast
- 8 cups all-purpose or bread flour, divided (can sub up to half whole wheat, I prefer 2 cups whole wheat and 6 cups all purpose)
- 2-3 tsp salt
- 2 large eggs
- ½ cup sugar
- 6 Tbsp canola oil
- 3 cups warm tap water
- Stir together yeast and 4 cups of flour in a large bowl. Set aside.
- In a separate large bowl, or the bowl of a stand mixer, whisk together eggs, sugar, oil and water. Add flour and yeast mixture and mix well. Add remaining flour and salt and blend well.
- Cover bowl with clean, damp kitchen towel or plastic wrap and let rise in a warm place for 15 minutes. Punch dough down, re-cover and let rise another 15 minutes.
- Lightly grease or spray two 10x15" cookie sheets/jelly roll pans with cooking spray, then line with parchment paper.
- Divide dough into 40 equal pieces and shape into buns (I usually split the whole lump in half or quarters and work from there). Place 20 on each cookie sheet. Cover each cookie sheet loosely with a clean kitchen towel and let rise in a warm, draft-free place for 1 hour.
- Near the end of the rising time, preheat oven to 350 degrees Fahrenheit. Bake buns for 16-18 minutes, until lightly browned. If you can't fit both sheets in your oven at the same time don't worry about it - one batch can rise an extra 20 minutes without any problems.
- Use within 2-3 days, or freeze in an airtight bag to maintain freshness.





this is the recipe I’ve been looking for for years. Fast, delicious, versatile. Last night I made some soup and wanted some buns to go with it. This recipe was offered to me from google and thank goodness. I made half of it into buns and then did a quarter into cinnamon buns and a quarter into pizza rolls.
My hope was that we would freeze some but everything is so good that we are actually eating it at an embarrassing speed.
Hi, just wondering, when mixing the flour in it just says “blend well”. Do you need to knead this dough like normal doughs till it’s elastic-ish? Using hands or a dough hook? Thank you!
I made these today. They rose perfectly and are soft and fluffy. I have this same recipe in my Cambridge, ON church cookbook.
Would this work for cinnamon buns and cheese buns as well? When I was a teenager I had an old recipe for buns similar to these and I would break the dough apart and make regular, cheese and cinnamon buns to have! I would love to do it again
Yes, absolutely – I often roll out half the dough to make it into cinnamon buns or pizza buns :)
These sound perfect for making cloverleaf rolls…has anyone else tried the dough that way?*
We had these yesterday with a thanksgiving meal at our daughters house. The fluffiest dinner buns we’ve ever eaten!
Making them today at our house.
Love baking with yeast.
I have been making 2 hour buns for over 2 decades and I am here to say don’t use 2-3 tap salt!! 1 teaspoon is all you need. I also sometimes make these in to stuffed buns for quick lunch or school lunches. Make as per usual before putting in pan to rise flatten handful of dough and place filling. I’ve used tuna and mayo and cheese or leftover marinara and cheese or cheese and pepperoni with pizza sauce. Rise and bake per usual. After baking I brush with a little butter for keeping moist.
I started with 1 tsp of salt but found them too flat for us. I love adding fillings to save a step for lunch buns too!
What measurement of flax seed would you add?
2-3 Tablespoons is great! I have done up to 1/3 cup.
The perfect easy-to-make recipe for every day buns.
only have active dry yeast in the house…..do you know how I would alter the recipe for that or wouldn’t that work?
It would definitely work – just proof the yeast in the warm water before adding the flour instead of mixing the flour and yeast together dry.
Made these beauties yesterday! We can go through buns at a quick pace in our house, so I LOVED how many buns the recipe makes! They turned out a wonderful golden brown, and taste delicious! I used the suggested 2 cups whole wheat ( and added flax seeds, because that’s just what I do with all the bread & bun recipes I use) and it was the perfect ratio!
Ooh, adding flax is a great idea, I’m going to try that next time.